The Ultimate Guide to Taking Professional Quality Product Images
Taking great product photos for your online store is essential to successful ecommerce. Photos are the first thing potential customers see when browsing your products. High-quality images can help drive sales and increase conversions by making your products stand out from competitors. With the rise of social media and visual search engines like Pinterest and Instagram, people are more visually inclined than ever before; they judge brands based on their visual identity and how their products look. Great product images can differentiate between customers keeping or discarding your product listing in their browser. These tips can help you to elevate your product shots.
Use a tripod to reduce the camera shake.
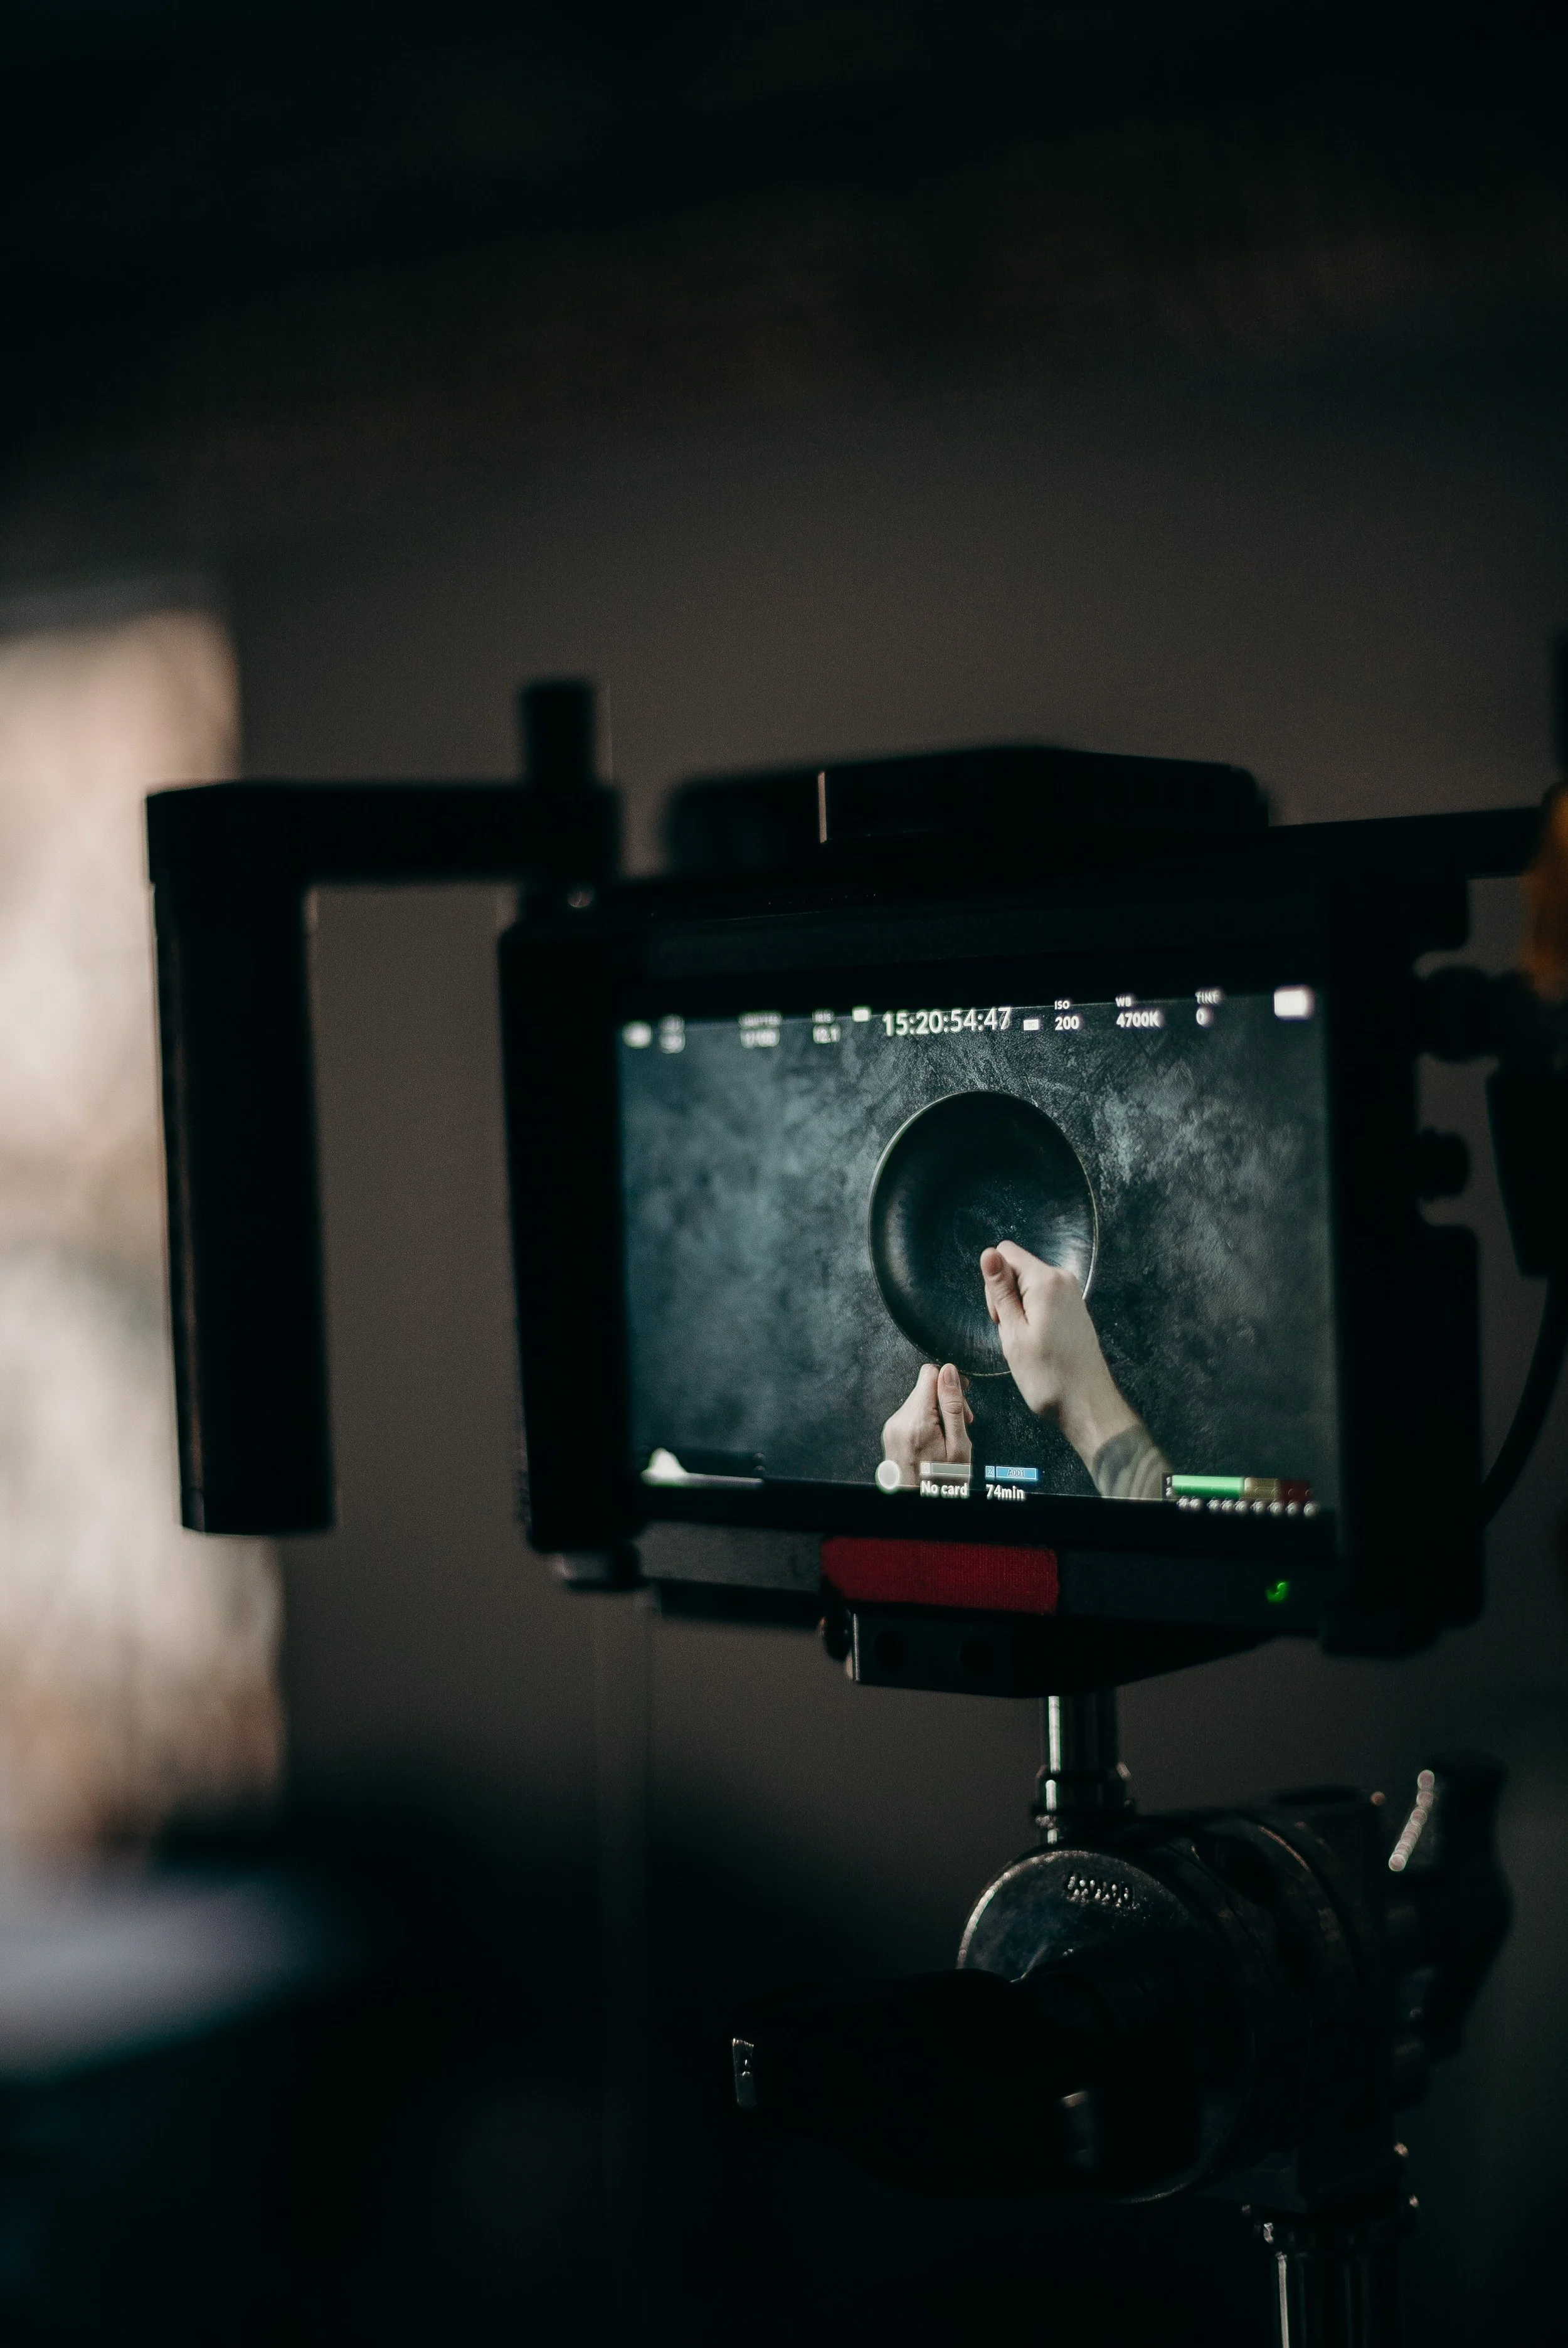
Using a tripod helps reduce camera shake and gives you more control over your shot. Shaky images are one of the biggest turn-offs for customers, so by using a tripod, you can make sure every image is as crisp and clear as possible. A tripod can also help you take product photos in confined spaces like small kitchens or if you’re taking pictures outdoors and want to avoid shadows from nearby trees or buildings.
Use as much natural light as possible.
Natural light is the best light for taking product photos. It gives the images a warm, neutral glow that creates a better overall look. Artificial light can be tricky because it is often quite harsh and can create ugly shadows. You can also use reflectors to direct light towards your products and soften shadows. Using natural light can be a little difficult if you don’t have windows in your home, but if you can, it’s worth the effort.
Take shots from different angles and positions.
It’s essential to take photos from different angles and positions to showcase your product in the best way possible. This will give your customers a 360-degree view of your product and make it easier to see what it looks like and how it’s used. For example, images taken from the front and back will show customers the design and fit of your product as a clothing item. If the product is a kitchen appliance, taking photos from above and below will show users its size and how it’s installed.
Invest in camera accessories and equipment
Spending a little extra on camera accessories and equipment will go a long way in improving your product shots. Getting a good tripod, lighting kit, emotimo, and suitable backdrop will help you get much better photos. Taking your images in a brightly lit area will make it easier to get good shots without shadows. And a backdrop will keep your products in focus while knocking out distracting backgrounds. You can also invest in a camera with good manual settings, letting you get creative with your shots and take better photos. Manual settings allow you to adjust essential camera settings like shutter speed and aperture, which can help make your photos brighter or darker, sharper or softer, and more dramatic.
Avoid clutter in the shot.
Keep an eye out for clutter in the shot as you’re shooting. You want to ensure that your product is visible and the background doesn’t distract from it. If the environment is cluttered, you can always edit it out in post-production. If something in the shot doesn’t belong, try to move it out of the frame. If that’s not possible, try repositioning your product or taking the shot from a different angle. If you have a cluttered area where you’re taking your product photos, try placing a clean white sheet behind your product to create a pure and clean look. White helps make your product pop and stand out, which is exactly what you want when taking product photos.
Takeaway
You can drive sales and increase conversions with superb images by making your products look attractive and appealing to potential customers. That’s where these tips come in. If you follow these guidelines and tips, you’ll be well on your way to taking professional-quality product photos for your online store.


So, what do you need to know about how to choose a real estate agent, and how do you go about finding the perfect person for your property search?